Photobracketing for the Milky Way
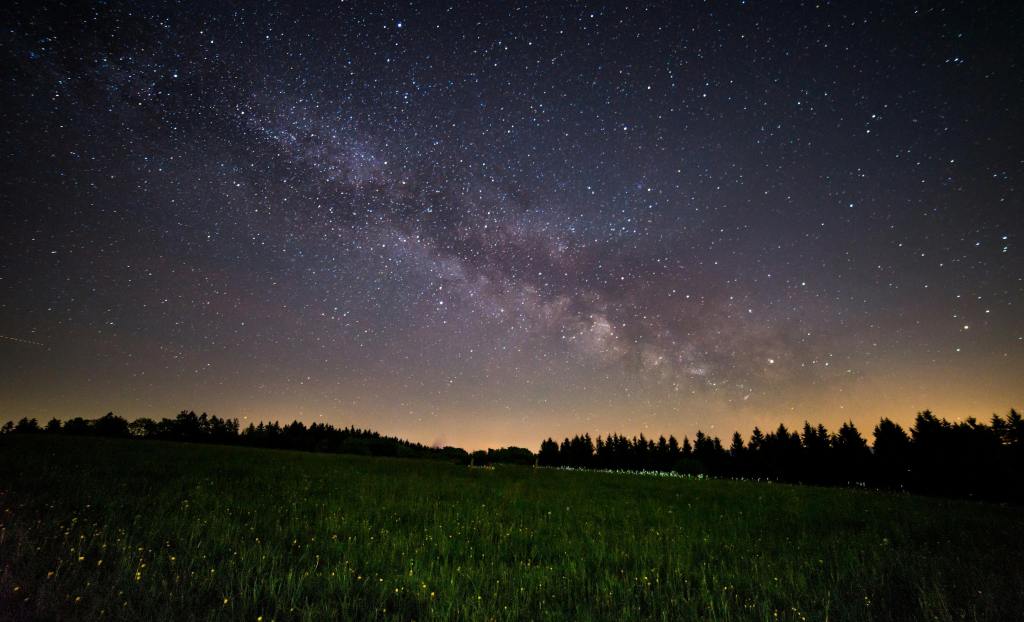
Capturing the Milky Way is a small negotiation with the night: bright stars at one end of the exposure, deep shadows at the other, and a camera that cannot comfortably serve both. Photobracketing offers a practical, elegant way out of this problem by letting you record several exposures of the same scene, each designed to preserve a different part of the dynamic range.
What photobracketing is
It’s the simple act of taking multiple shots at different exposure settings — one for the stars, one slightly darker for the brightest parts of the Milky Way, and one slightly brighter for the landscape. Each exposure holds a piece of the truth; together they form a complete picture.
How to bracket the Milky Way
• Star exposure: A wide aperture, high ISO and short shutter time to avoid star trails.
• Underexposed shot: Slightly darker to keep structure in the brightest parts of the galaxy.
• Overexposed shot: A brighter frame to reveal shadow detail in the foreground.
How to merge the exposures
Software such as Lightroom or Photoshop lets you blend the shots into a single image that preserves both the night sky and the landscape. HDR tools like Photomatix or Aurora HDR can help if you prefer a high-dynamic-range workflow.
Why it works
The Milky Way is full of delicate contrast — dust lanes, star clusters, faint glow. A single exposure rarely manages to hold it all. Photobracketing allows you to stretch your dynamic range without stretching your shutter time or losing sharpness.
If you take the time to bracket carefully and blend thoughtfully, the night will reward you with a frame that feels balanced, detailed and true to the sky you stood under.
Photobracketing in Photo Xpert
If you want to know exactly when Golden Hour begins and ends — without guessing from the sky — Photo Xpert makes it simple.
The app shows precise times for any location, gives you a clear timeline to plan your shot, and keeps the information calm and easy to use.

Plan Photobracketing With the Right Tools
Photo Xpert
Precise blue-hour and golden-hour timelines, weather data, and practical light-planning tools for photographers.
